29th December 2017
by Roger Phebey
Comments Off on Breath easier!
Health & Safety, do we pay it enough attention in our workshops? I believe that we do, however, most of us call it “Common Sense” along with its well-known travelling companion “Experience”.
Over the years I have tried various solutions of Health & Safety. First, it was Safety Glasses combined with breathing in the local air. I was comparatively young and lacked experience about breathing in fine dust.
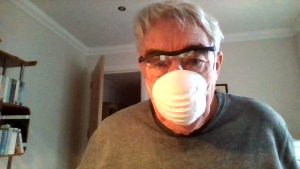
Then I progressed by adding a Face Mask along with the Safety Glasses. I would say that would be my minimum protection and for added safety, I do try and stand out of the line of flight of the piece being turned on the lathe.
This Christmas I was given the Trend Air Stealth P3 Safety Respirator. Now I find this to be a massive improvement over the Face Mask. Yes, it cost around £25.00 /$33.00 but it is a big step up from the Face Mask and you can breath easier and the Safety Glasses do not steam up.
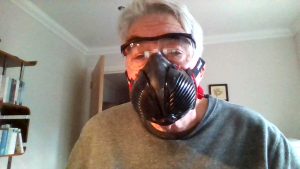
An excellent addition to my working environment!
However, when I am turning very dusty wood or sanding on the lathe then I do turn on the overhead electric Ambient Air Filter. Mine was made by Microclene but that company I believe no longer trades but Thor Filtration products available from Toolpost offer very similar products https://www.toolpost.co.uk//pages/Health___Safety/Dust_Extraction/Microclene/microclene.html
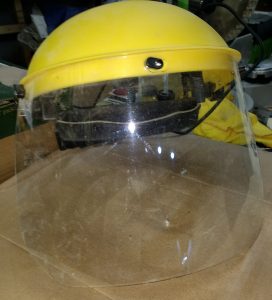
I do also use a Face Shield, very reasonably priced normally well under £15.00/$18.00 but personally the downside to them, well at least the one I have, is that the shield collects static electricity and hence very fine dust. You will find them at Toolpost or any good woodturning oriented tool shop.

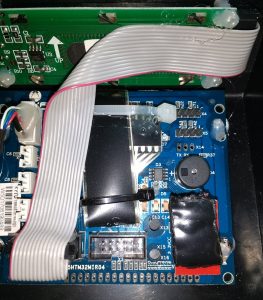

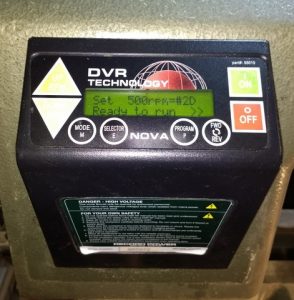 This is a picture of the ORIGINAL PANEL on your DVR-XP which is to be upgraded. This assembly has to be removed, see

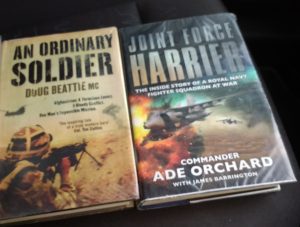 I started out reading “An Ordinary Soldier by Doug Beattie MC”, on loan from the local library. I found it an interesting account of the war in Afghanistan. You get a very realistic idea of the conditions that our frontline troops serve in and their camaraderie.